

The problem
Double-clicking in single click, inability to create continuous line in paint application, difficulty to move camera in RTS, iron sights not sticking in FPS - these are all symptoms of a broken mouse button. Culprit in majority of cases is a component called miniature snap-action switch, or micro switch. This switch contains three leads and a metal with little spring. This metal is jumping between two contacts thanks to the spring and bridging connection between contacts.
This spring can become tired so it isn't providing pressure necessary to maintain connection. With combination of dirt (dust) and oxidation on the contact areas, it is a perfect recipe for unstable connection and unwanted double clicks.

Tools and tips
You will need:
- screw driver (type depends on your mouse model, Phillips and flat head should be enough
- tweezers
- safety pin, nail scissors or something pointy
- contacts cleaner or rubbing alcohol
- any type of glue
- camera (cellphone will suffice)
- little bit of time
Tips:
- Make several photos of each step, it will help you tremendously in reassembly.
- Don't use much force, there can be hidden screws or latches and you will break something if you are not careful.
- Disconnect your mouse from computer and pull out batteries first.
- Take your time, you do not have be finished in ten minutes.
- Every photo in this guide is in high resolution, visit gallery for additional details.
- And as usual, PCGamingWiki is not responsible for any damages caused by following this guide.
1. Mouse disassemble
This step is unfortunately rather vague, because of each mouse having vastly different design. Be extra careful and look for hidden latches and screws when pulling parts apart.
First of all you have to find screws on your mouse. Usual places are under rubber feet, in battery compartment and under stickers. Consult Google with a name of your mouse and word "disassemble".

After getting rid of all the screws, upper part of the mouse should come apart. Now it is a good time to clean any oil and dirt from many crevices in the upper cover with rubbing alcohol or soap water (in case upper cover does not contain any electronics). Let it dry thoroughly. Example of mouse insides are displayed on figure 3.

Now look for micro switches that needs fixing. You have to have clear access to them in order to properly fix them so additional disassemble could be required. Usually there are few screws, that holds everything to the plastic base, internal connectors, scroll wheel, that can be easily put away etc. In some cases there can be hard connection between boards that cannot be non destructively disassembled. Again take a lot of photos during your work for future reference.
For example in figure 3, Logitech MX700 is very complicated mouse with three layers of PCB's, two of which has soldered hard connection (4 pins directly above scroll wheel and on the left of D-3 component) and soldered flat cable between two other (upper right corner, white cable). There are five fixable switches on this mouse and three unfixable.
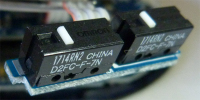
Vast majority of manufacturers are using Omron type switches for main buttons (see figure 1 and 4). There is a possibility of finding smaller, four pin surface mounted switches, that cannot be opened and repaired without soldering. These can be also found in Xbox 360 controller.

3. Opening the micro switch
So you have located faulty switch and ensured enough access to it. Opening it is fairly straight forward. There are usually two latches, that has to be lifted separately (figure 5). Some manufacturers has these latches on the long sides of the switch (figure 1).

Insert your open safety pin or point of scissors under the latch to unlock it and lift one side of the switch cover slightly (figure 6). Do not try to lift whole cover up just yet, you'll break the second latch.

Do the same on the other side of the switch so you'll get situation displayed on figure 7. Rotate the mouse (or part with the switch) so the white pin on the top of the switch is pointing down.

Now you can pull cover away from the base. The white pin is loose in the cover and can be easily lost if not handled upside down. At the end, you'll end up with situation displayed in figure 8.

4. Metal spring fun
You can see insides of the switch. The part, that needs fixing, is the long metal with spring in the middle and It needs to come of the rest of the switch. This is another not very difficult task, lay the switch flat, as shown on figure 8, hold the part without the spring with two fingers and twist the metal to the side. It should go fairly easily and you'll end up with bare metal with spring (upper left side of figure 9).

As the fix itself you'll need to pry the spring little bit. Lay the metal piece flat, hold it as flat possible with tweezers and pry the spring up just a little bit. There is very little strength required, just fraction of a millimeter should be enough. Clean the contacts on the metal with alcohol, do the same with pins on the base of the switch.
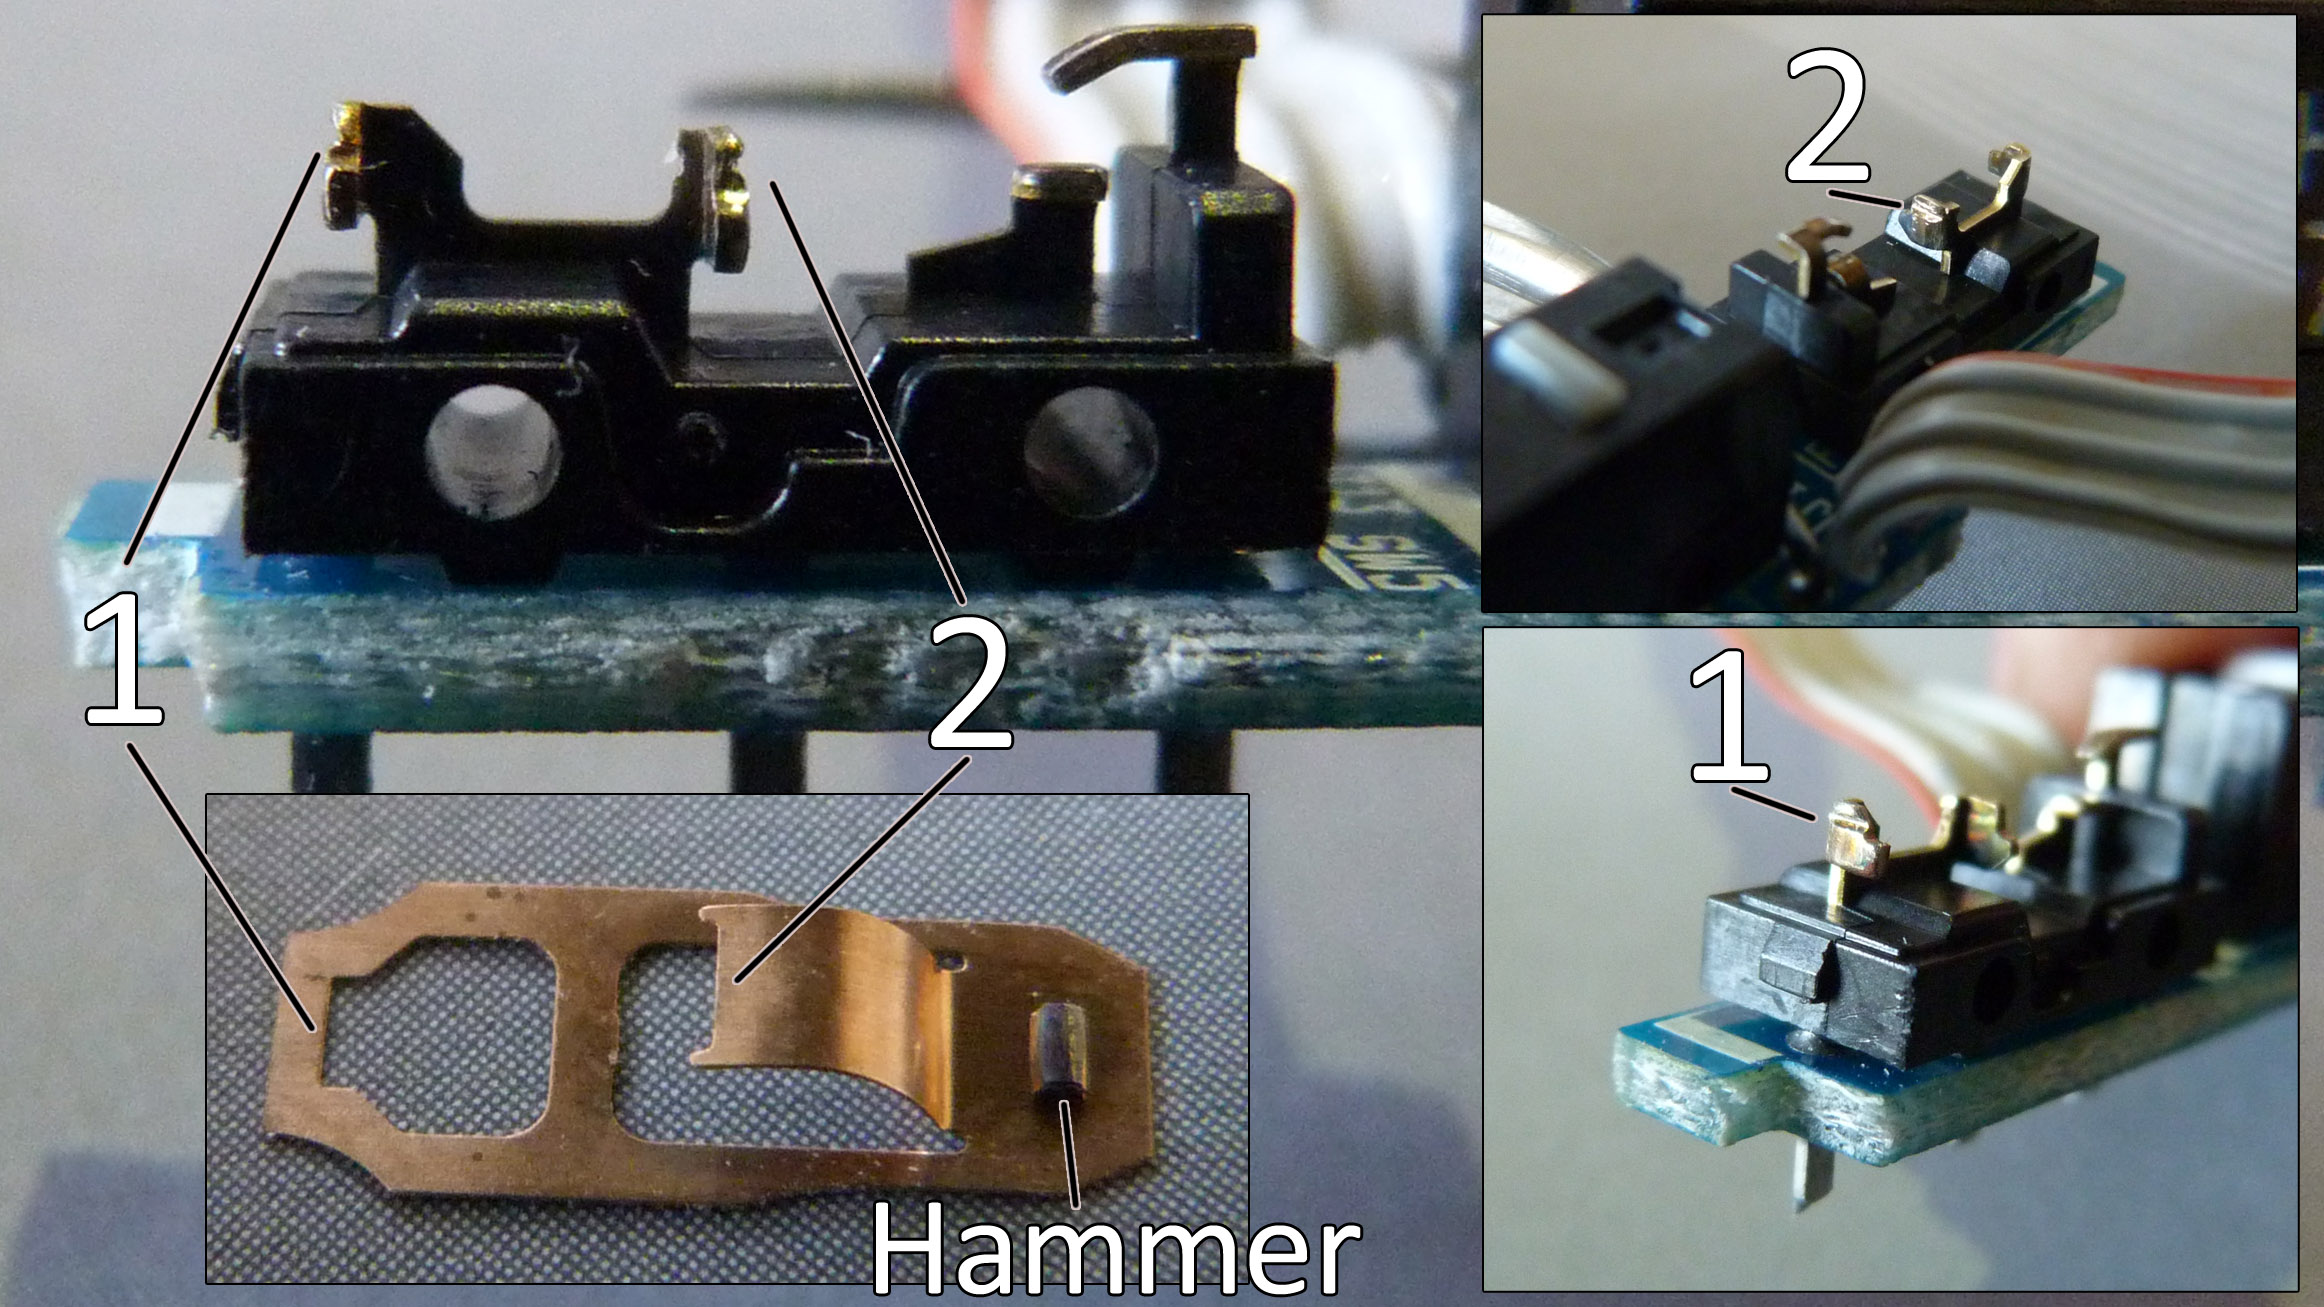
Now for the tricky part: you have to put it back together. See figure 10 in full resolution for more details. There are two grooves on the two metal pins on the base of the switch (numbered 1 and 2 on the figure 10). These grooves are corresponding with cutouts on the metal, also numbered 1 and 2. The hammer needs to go between two most right pins.

The easiest way I've found is to place the hammer first, then place the metal into the groove 1. Spring is resting on the middle pin, just above groove number 2. Situation on the top left, top right and bottom right part of figure 11.

Now for seating the spring into its groove. Take the tweezers or small screw driver and push the spring down into its place (rest of figure 11). This is especially tricky move, as you have to push with enough force to push it down, but not enough to over push. If you over do it, you'll have to start over. When you manage to seat the metal properly, try to click it few times so you know, it is working OK. Seated metal is displayed on figure 12.

Whole process of opening and fixing the switch is captured on a video. Be sure to turn on HD for best details.
4. Testing and reassembly
Close the switch and make sure, you are putting the cover the right way. White pin should not be directly above the spring. Consult your photos for proper orientation. Unfortunately you have to fully reassemble your mouse to do proper testing. Screws are putting the right amount of pressure on the micro switches and without them you could get another faulty clicks.
Sometimes sound of the click and force needed to achieve button press can change slightly depending of force used on prying the spring. Try to open it again if you are not satisfied with results.
The best way to test success of the fix is in any paint application. Create a blank document, pick any color and create any random shape with the button, you've just fixed. You should get continuous line if the fix is successful. Glue back the rubber feet and enjoy your fixed mouse.


Recommended Comments
Join the conversation
You can post now and register later. If you have an account, sign in now to post with your account.